By Ben Nitkin on
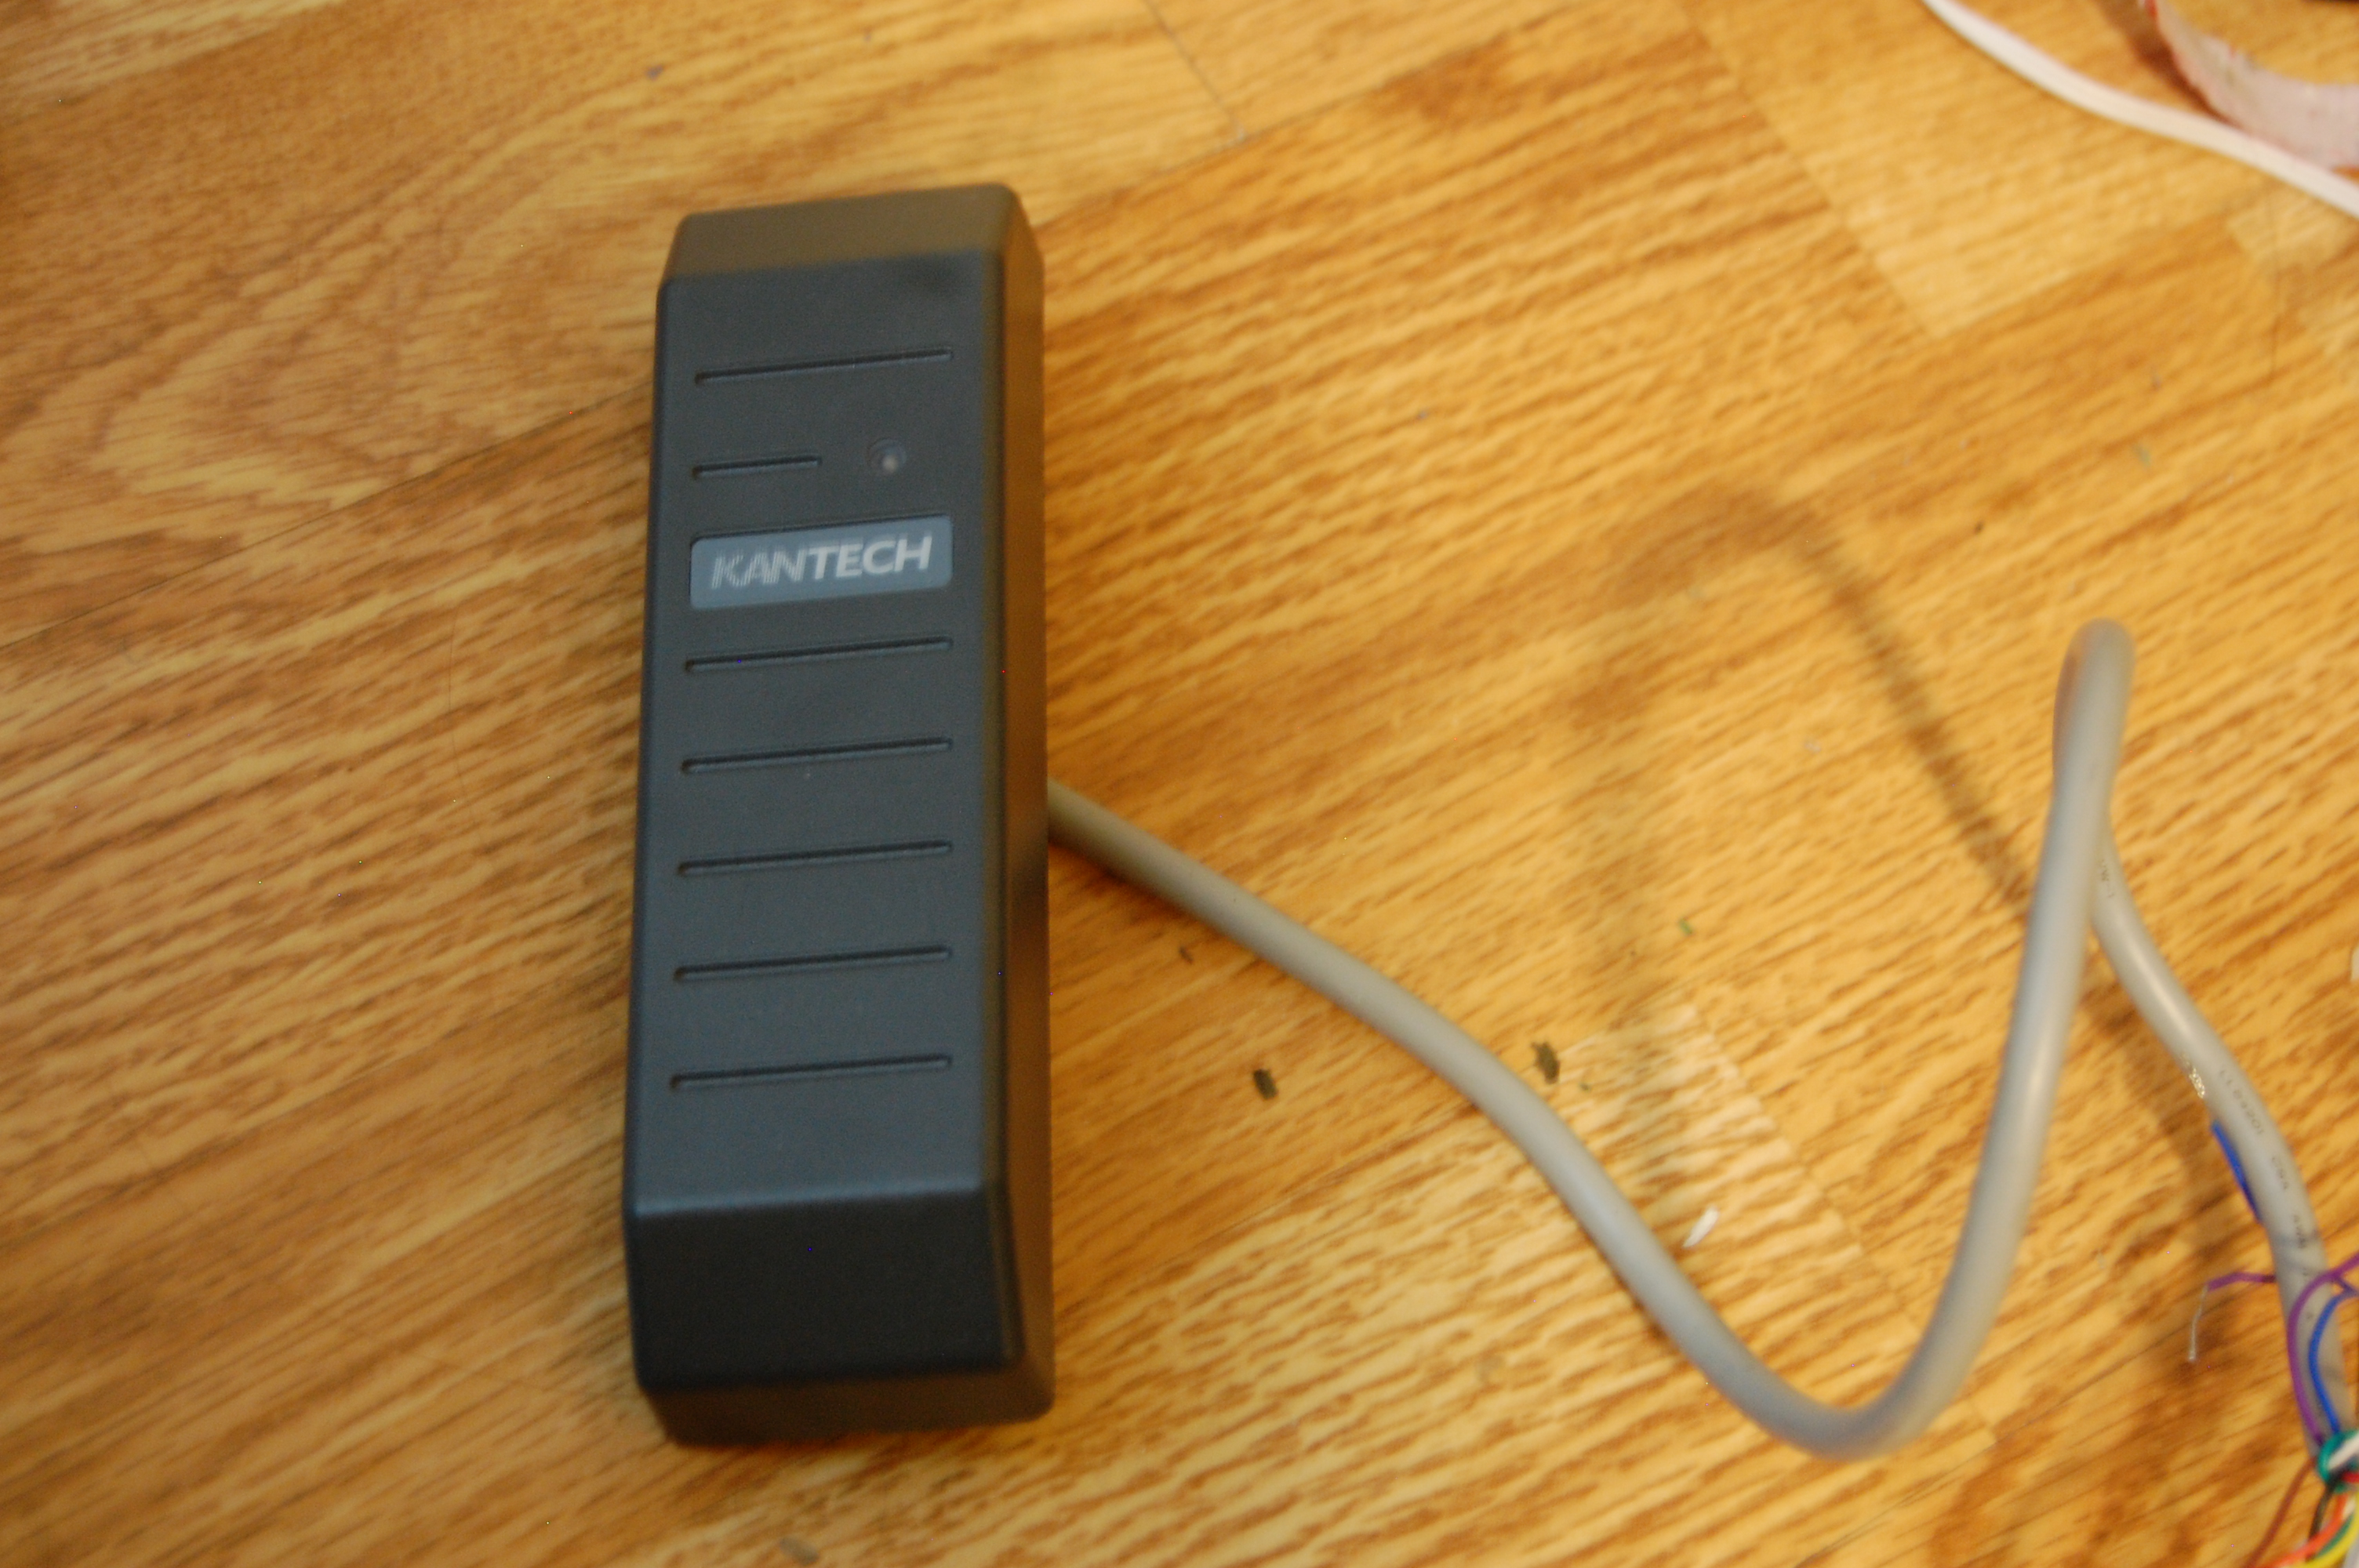

See that picture? Good. The college uses readers just like those all across campus for access control. They're on the front of all of the academic buildings, all the dorms - just about everywhere uses these phobs.
A few days ago, I bought one of them. (It's wild what you can buy on EBay. Really wild.) The reader arrived on Monday, and sat around for a while. Midway through the week, I decided to have at it.
The reader uses a strange format - Wiegand - to transmit data. Wiegand was devised years ago for reading magnetic swipe cards, and has grown into a standard. Just like clock-and-data transmission, it uses two lines. There the similarity ends.
Wiegand assigns one line to 1's, and the other to 0's. They're normally held high (5v). To transmit a bit, one of the two lines is momentarily pulled low (0v). (It works well with swipe cards because baud rate doesn't matter.) I had no idea how to use the arduino to read from the thing.
Scouring the internet, I found someone else who'd designed code to read from the reader. By his own admission, his code was messy. It did far more than I needed (LCD and SDcard interface), and wasn't terribly clear. He introduced me to the interrupt lines on the Arduino, though.
An interrupt is a line that the microcontroller polls constantly for data. If a condition is met (rising edge, falling edge, change in value, or low value), the Arduino calls a user-specified function. That works perfectly for reading Wiegand data! (It's also useful for clock-and-data, but I digress.)
This code prints out card values fairly reliably (unless the 1000ms timer enters a newline as a card is being read). void DATA1() {
Serial.print(1);
}
void DATA0() {
Serial.print(0);
}
void setup() {
Serial.begin(9600);
//When a falling signal is detected on interrupt 0 or 1, the functions DATA0 and DATA1
//are called, respectively.
attachInterrupt(0, DATA0, FALLING); // DATA0 (green) on HID reader > Pin 2 on Arduino
attachInterrupt(1, DATA1, FALLING); // DATA1 (white) on HID reader > Pin 3 on Arduino
}
void loop() {
//Print a newline every second.
delay(1000);
Serial.println();
}
This code reads all data from a card, and prints the bits over serial back to the computer. I scanned a few cards and was rewarded with their internal values. The cards print out 36 bits, in a format I didn't yet understand.
For sanity's sake, I'm breaking this project up into a ton of short posts.